Leather is a durable and versatile material that is commonly used for making furniture, clothing, accessories and footwear. It can last for years if properly maintained and can be dyed to change its colour. Dyeing leather can be an excellent way to restore an old piece or to give new life to a boring piece.
In this article, we will provide a comprehensive guide on how to dye leather for those who want to try it at home.
Materials Needed:
- Leather Dye
- Leather Preparer and Deglazes
- Leather Conditioner
- Clean Cloths
- Paint Brushes
- Stir Sticks
Step 1: Clean the Leather
Before you begin dyeing, it’s essential to clean the leather to remove any dirt, grease, or oils that may prevent the dye from adhering properly. Use a clean cloth and a leather cleaner to wipe down the leather. If the leather is particularly dirty, you may need to use a leather deglazes to strip off any previous treatments and ensure that the dye will adhere.
Step 2: Apply Leather Preparer and Deglazes
After cleaning the leather, the next step is to prepare it for the dye. This is where you apply a leather preparer and deglazes. The preparer will help the leather to accept the dye, while the deglazes will help to remove any impurities that may prevent the dye from adhering. Use a clean cloth to apply the preparer and deglazes to the leather.
Step 3: Apply Leather Dye
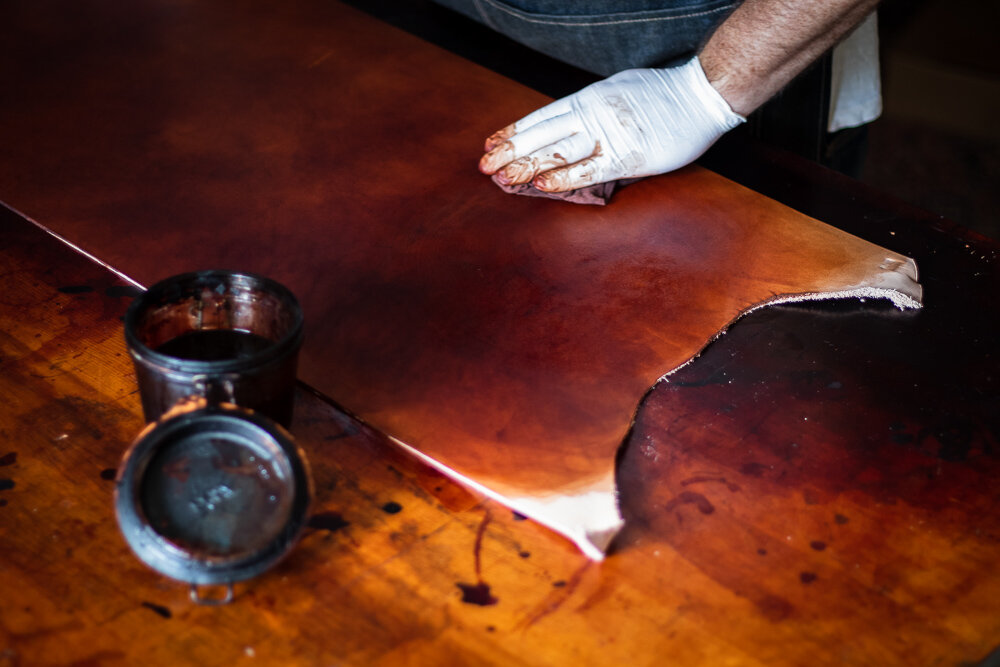
Now that the leather is prepared, it’s time to apply the dye. There are several types of leather dyes available, including water-based, alcohol-based, and oil-based dyes. Choose a dye that is suitable for your leather and the colour you want to achieve. Pour the dye into a clean container and use a paintbrush to apply it to the leather. Make sure to apply the dye evenly and in thin layers. You may need to apply several coats to achieve the desired colour.
Step 4: Dry the Leather
Once the dye has been applied, it’s time to let the leather dry. This can take anywhere from a few hours to a full day, depending on the type of dye you used and the conditions in your workspace. Be sure to follow the manufacturer’s instructions for drying time and temperatures.
Step 5: Condition the Leather
After the leather has dried, it’s essential to condition it to keep it soft and pliable. Apply a leather conditioner to the leather using a clean cloth. This will help to protect the leather from cracking and to keep it hydrated.
Step 6: Final Touch-Ups
If there are any spots or streaks on the leather after it has been dyed, use a clean cloth and a small amount of dye to touch them up. Be sure to let the leather dry completely before using it.
The Wrap Up
Dyeing leather can be a fun and rewarding DIY project. It can be an excellent way to restore an old piece or to give new life to a boring piece. By following these steps, you can achieve professional-looking results. However, it’s essential to use high-quality materials and to take your time when dyeing leather. With a little patience and practice, you can dye leather like a pro.


